
Cracked walkways, stained patios, and pitted driveways can make a well-kept home look neglected long before the structure itself is actually failing. Fortunately, most concrete problems are cosmetic or surface-level, which means full replacement is rarely the only fix. With the right combination of cleaning, repair, and resurfacing techniques, you can restore strength and curb appeal without tearing out perfectly good slabs. This guide walks through the most practical ways to bring old concrete back to life, room by room and surface by surface.
Assess the Real Condition of Your Concrete Slab
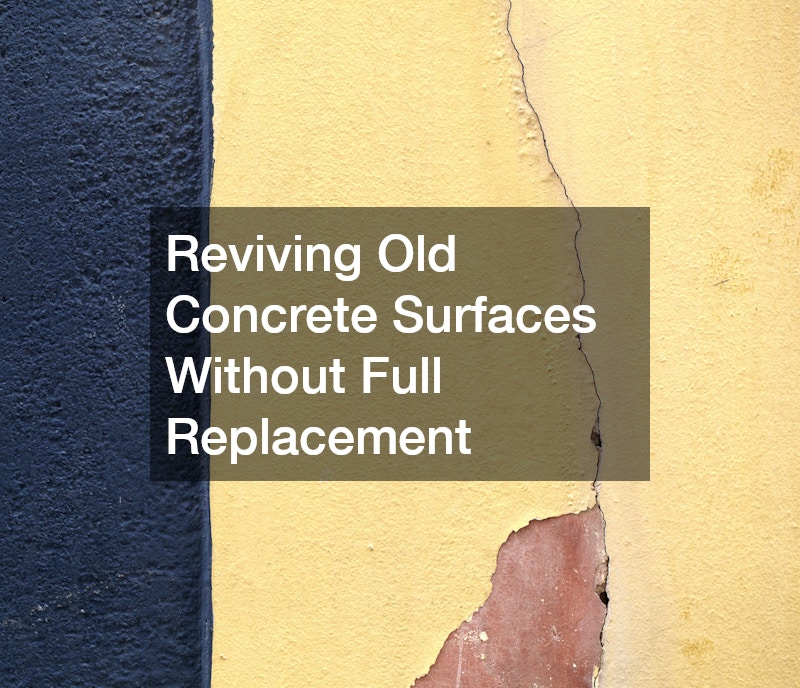
Before spending money on any repair, it helps to know whether you are dealing with cosmetic wear or a structural problem. Surface issues like discoloration, minor cracking, and pitting are usually candidates for resurfacing, while deep cracks that shift with the seasons or heaving sections may point to soil or drainage issues underneath. A simple rule of thumb: cracks narrower than 1/8 inch that stay the same width year-round are typically cosmetic, while cracks wider than 1/4 inch, or ones with noticeable vertical offset between the two sides, often signal settling or erosion below the slab. Tapping the surface with a hammer and listening for hollow sounds can reveal delamination that is not visible to the eye. A solid slab should produce a dull, dense thud, while a hollow or drumming sound usually means the top layer has separated from the base and won’t bond well with a resurfacing product. It’s worth tapping in a grid pattern every foot or so, since delamination often shows up in isolated pockets rather than across the whole surface. Other clues are worth checking before you commit to a repair method. Standing water after rain, sunken corners, or gaps forming along expansion joints all suggest drainage or base problems that resurfacing alone won’t fix. Efflorescence — that white, powdery residue on the surface — points to moisture moving through the slab, which can undermine adhesion for any coating or overlay you apply later. If you’re unsure whether a crack is active or stable, mark its ends with a pencil line and date it, then check back in a few weeks or after a seasonal temperature swing. Cracks that grow, widen, or spawn new branches indicate ongoing movement that needs to be addressed before cosmetic repairs, while stable cracks are generally safe to patch and resurface over.
It is also worth checking how the slab drains after rain, since standing water accelerates deterioration and can undermine any repair you make later. If you notice consistent pooling near the foundation, it may be connected to broader yard grading or even a failing septic system, in which case scheduling septic tank pumping can relieve pressure on the surrounding soil and reduce saturation around the slab. Addressing drainage first ensures that whatever concrete fix you choose actually lasts.
Clean and Prep Before Attempting Any Repair
A thorough cleaning is the single most underrated step in concrete restoration, and skipping it is the reason many DIY patches fail within a year. Pressure washing removes loose debris, algae, and old sealant that would otherwise prevent new material from bonding properly. A machine rated between 3,000 and 3,500 PSI with a fan tip is usually sufficient for driveways and patios, while lower pressure around 1,500 PSI is safer for older or already-crumbling slabs that could pit or gouge under stronger blasts. For oil stains or rust marks, a degreasing solution followed by a stiff brush scrub usually works better than plain water alone. Commercial concrete degreasers or a mixture of dish soap and warm water can break down grease, while rust stains often respond better to a diluted phosphoric acid cleaner left to sit for ten to fifteen minutes before scrubbing. Always rinse thoroughly afterward, since leftover residue from cleaners can interfere with the adhesion of patching compounds or sealants. Once the surface is clean, check for moisture before moving forward, since trapped water beneath the slab can cause new repairs to blister or delaminate. A simple test is taping a small sheet of plastic over the area for a few hours and checking for condensation underneath. Letting the concrete dry for at least 24 to 48 hours in good weather, or longer in humid conditions, gives repair materials the best chance of bonding correctly.
Once the surface is clean, let it dry completely for at least 24 to 48 hours before applying any patch, filler, or coating. In humid climates or shaded areas that don’t get direct sun, drying can take longer, so it’s worth checking rather than assuming the calendar alone tells the full story. A simple way to test for hidden moisture is the plastic sheet method: tape an 18-inch square of plastic to the concrete and leave it overnight. If condensation forms underneath or the concrete darkens, the surface isn’t ready and needs more time. Rushing this step traps moisture underneath new material, which leads to bubbling, peeling, or a hollow-sounding patch that eventually pops loose. Temperature matters too — most repair products perform best when applied between 50°F and 90°F, so plan around forecasts rather than working in extreme heat or cold. Taking the time to prep properly now saves significant rework down the line, and it’s far cheaper than redoing an entire patch job because moisture or temperature undermined the bond the first time around.
Fill Cracks and Patch Small Surface Damage
Hairline cracks and small chips are the easiest concrete problems to solve and can often be handled in an afternoon. Polyurethane or epoxy-based fillers flex slightly with temperature changes, which makes them more durable than rigid cement patches for exterior slabs. For deeper cracks, backer rod inserted before the filler helps the repair hold up under foot and vehicle traffic.
- Use vinyl concrete patch for shallow surface pitting
- Choose epoxy filler for cracks wider than a quarter inch
- Apply sealant only after the patch has fully cured
- Avoid patching in temperatures below 50 degrees Fahrenheit
- Sand or grind patch edges flush with the surrounding surface
Resurface Worn Driveways and Walkways
 When a slab is structurally sound but visually tired, a resurfacing overlay can make it look almost new without the cost or disruption of demolition. These thin cementitious coatings bond to the existing concrete and can be textured or tinted to hide years of wear. Resurfacing works particularly well on driveways that have accumulated stains, minor spalling, or faded color over time.
The process typically takes a weekend for an average driveway, and the surface needs to cure for several days before it can handle regular vehicle traffic. Homeowners planning other exterior projects around the same time, such as scheduling moving companies for an upcoming relocation, should factor in this curing period so trucks and heavy loads do not damage fresh work.
Add Decorative Finishes to Improve Curb Appeal

Reviving old concrete is also a chance to upgrade its appearance well beyond its original look. Stamped patterns, acid staining, and engraved designs can transform a plain gray patio into something that resembles stone, brick, or tile at a fraction of the cost. This kind of decorative concrete work is especially popular for pool decks and front entryways where first impressions matter most, and it pairs well with interior remodeling projects when homeowners want a cohesive style that flows from indoor living spaces to the outdoors.
Color options have expanded significantly in recent years, allowing homeowners to match existing brick, siding, or landscaping features. Many contractors now offer multi-tone staining that mimics natural stone variation rather than a flat, single-color finish. Because these treatments sit on top of the resurfaced layer, they can be reapplied or adjusted later without redoing the entire slab.
Seal the Surface to Prevent Future Damage
Sealing is the maintenance step that determines how long any repair actually lasts, yet it is the one most homeowners skip. Once cracks are patched and the surface is cleaned, skipping the sealer means water and de-icing salts will simply find their way back in, undoing all that work within a season or two. A quality penetrating sealer, usually silane- or siloxane-based, soaks into the concrete’s pores and creates a water-repellent barrier below the surface. This blocks moisture and chloride salts from infiltrating the slab, which is the leading cause of freeze-thaw cracking and surface scaling in colder climates. Most penetrating sealers last three to five years and are the better choice for driveways, garage floors, and any surface that sees heavy traffic or harsh winters. Acrylic topcoats sit on top of the concrete rather than soaking in, adding a bit of sheen along with some abrasion and stain resistance. They’re a good match for decorative, stamped, or stained surfaces where appearance matters as much as protection, though they typically need reapplication every one to three years and can peel if moisture gets trapped underneath. Before applying either type, make sure the concrete is fully dry and free of grease, efflorescence, or old coatings, and check that overnight temperatures will stay above 50°F for the recommended curing window. Applying sealer to a damp or dirty surface is one of the most common reasons homeowners see hazy patches or early peeling.
- Reseal exterior concrete every two to three years, or annually for driveways and walkways exposed to de-icing salt and heavy traffic
- Choose breathable, vapor-permeable sealers for surfaces prone to moisture, like basement floors or patios near sprinklers, to let trapped water escape instead of causing bubbling
- Avoid sealing immediately before heavy rain is forecast — check for at least 24-48 hours of dry weather before and after application
- Test a small, inconspicuous area first to check for color changes, since some sealers darken concrete or add an unwanted glossy sheen
- Clean the surface again right before applying sealer, removing dust, leaves, or debris that settled since the initial cleaning
- Apply sealer with a low-nap roller or sprayer in thin, even coats rather than one thick layer, which can trap moisture and peel
- Check the concrete’s temperature before starting, since most sealers require surface and air temperatures between 50°F and 90°F for proper curing
Extend the Life of Patios and Outdoor Living Spaces

A patio that has been resurfaced or newly sealed deserves furnishings that will not scratch or stain the fresh finish. Choosing outdoor furniture with felt pads or rubber feet protects the surface from the kind of scuffing that eventually leads to chipped edges. Lightweight furniture that can be moved for cleaning also makes it easier to maintain the concrete underneath without straining your back every time you sweep.
If your patio connects to a wooden deck, it is worth having both surfaces assessed together, since they age differently and may need coordinated repairs. Bringing in an Amish deck builder for the wood portion while handling the concrete separately often produces better results than expecting one contractor to be equally skilled at both materials. Keeping the two surfaces visually consistent, through matching stain tones or complementary textures, helps the whole outdoor space feel intentional rather than patched together.
Coordinate Concrete Work With Other Home Projects
Concrete restoration rarely happens in isolation, and it often makes sense to bundle it with other maintenance you are already planning. If you are having a residential roofing company out to replace shingles or repair flashing, scheduling your driveway resurfacing for a different week prevents debris and foot traffic from damaging the new coating. Similarly, big equipment like AC installation units or delivery trucks should be routed away from freshly poured or resurfaced areas until they are fully cured.
Timing matters just as much when several trades are competing for space on your property. Homeowners coordinating a residential roofing company alongside other exterior work sometimes forget that ladders, tarps, and dropped materials can scuff or gouge concrete that has just been resealed. A simple project calendar that maps out which contractors are on-site each week, including when the AC installation crew needs driveway access for equipment staging, can prevent this kind of avoidable damage and keep every project on schedule.
Protect Nearby Windows and Fixtures During Repair

Concrete work generates a surprising amount of dust and overspray, especially during grinding, pressure washing, or staining. Nearby windows, siding, and outdoor fixtures should be covered or masked off before work begins to avoid etching from acid stains or residue from resurfacing compounds. If you have recently invested in storm window companies to upgrade your home’s energy efficiency, protecting that new glass during concrete work is worth the extra ten minutes it takes to tape down plastic sheeting.
Indoor window treatments deserve the same consideration if the work is happening close to the house. Removing or raising blinds near open windows during pressure washing keeps them from getting splashed with dirty runoff or cleaning chemicals. These small precautions take little time but prevent unnecessary cleanup or replacement costs later.
Reviving old concrete is almost always more practical, affordable, and faster than a full tear-out and replacement, especially when the underlying slab is structurally sound. Start by honestly assessing what you are working with, then move through cleaning, repair, resurfacing, and sealing in that order for the best long-term results. Whether you are refreshing a driveway, upgrading a patio with decorative touches, or coordinating the work around other home projects, a methodical approach pays off in both appearance and durability. Take the time to plan each step, and your concrete surfaces can look and perform like new for many more years to come.