
- Reupholstering preserves history and value: Restoring an antique chair maintains its craftsmanship, charm, and can increase its long-term worth.
- Preparation is key: Carefully remove old fabric, inspect the frame, replace padding if needed, and clean the wood to ensure a strong, professional result.
- Choose fabric thoughtfully: Select durable, era-appropriate fabrics and colors that complement the chair’s style and maintain authenticity.
- Measure and cut accurately: Use old fabric as a template, add extra material for tucking and stapling, and cut on a flat surface to avoid mistakes.
- Follow a step-by-step reupholstery process: Attach padding, position fabric, staple/tack securely, fold corners neatly, trim excess, and reattach components.
- Maintain antique charm while modernizing: Refresh wood finishes gently, stick to historically accurate trims, and avoid patterns that clash with the original design.
- Regular care extends life and appeal: Rotate, dust, clean, and check joints to keep the chair looking elegant and structurally sound for years.
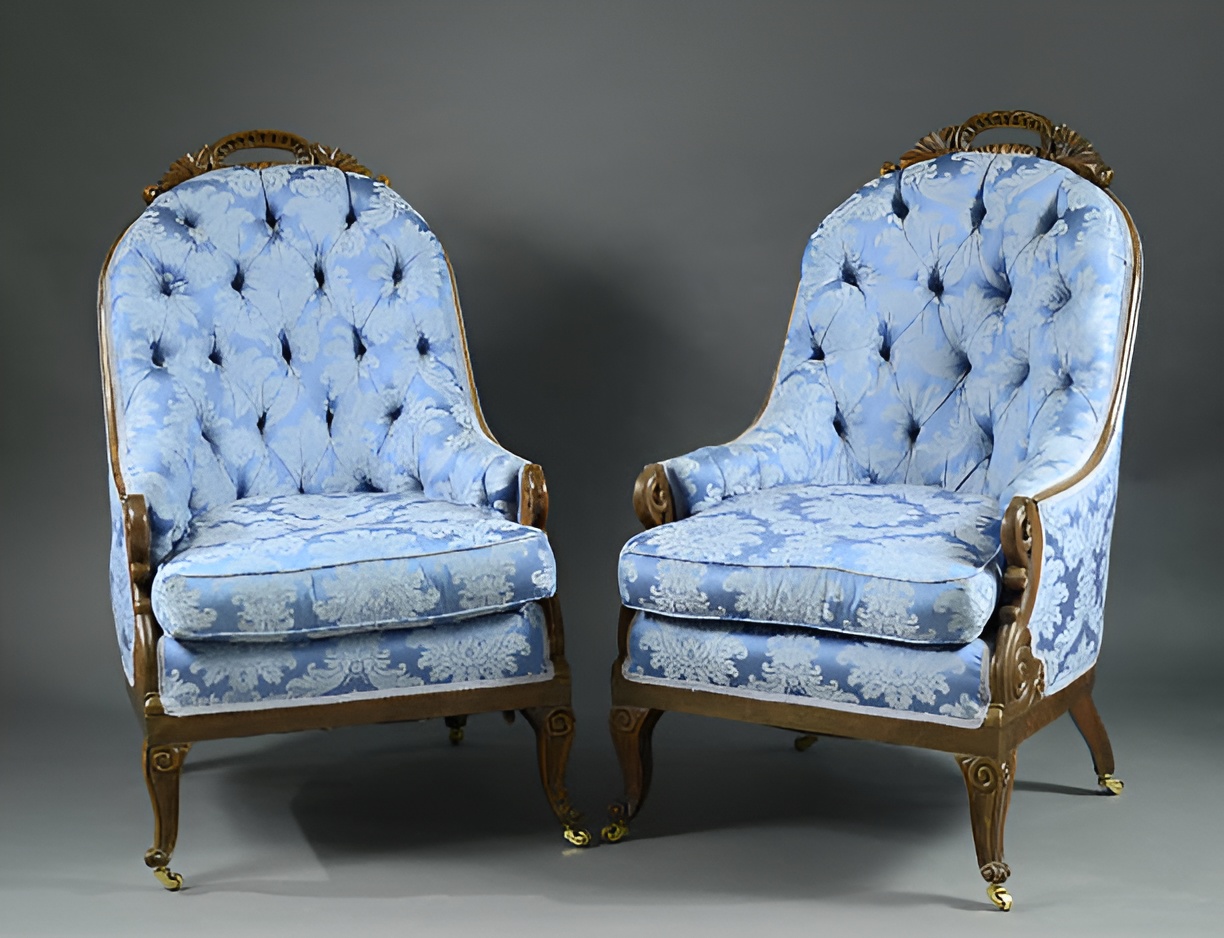
Antique chairs aren’t just furniture—they’re pieces of history. They carry stories, craftsmanship, and unique styles that modern furniture rarely matches. But over time, even the most cherished chairs can show signs of wear. Learning how to reupholster a chair to preserve its antique charm allows you to restore its beauty while keeping its original character intact.
Whether it’s a family heirloom or a vintage find from a market, reupholstering gives your chair a new life while honoring its past. This guide will walk you through everything from choosing fabrics to finishing touches.
Why Should You Reupholster Antique Chairs Instead of Replacing Them?
Many homeowners wonder if restoration is worth the effort. Here’s why reupholstering an antique chair is often the better choice:
- Preserves history: Antique chairs often showcase craftsmanship and materials you won’t find today.
- Saves money long-term: While reupholstering requires an upfront investment, high-quality antiques often appreciate in value.
- Customizable style: You can select fabrics and finishes that complement your home while keeping the original frame.
- Environmentally friendly: Reusing furniture reduces waste and lowers your carbon footprint.
Restoring rather than replacing allows you to enjoy the unique charm of the original piece while making it functional for modern use.
What Tools and Materials Do You Need to Reupholster an Antique Chair?
Before diving in, make sure you have all the tools and materials. Proper preparation makes the process easier and ensures a professional-looking result.
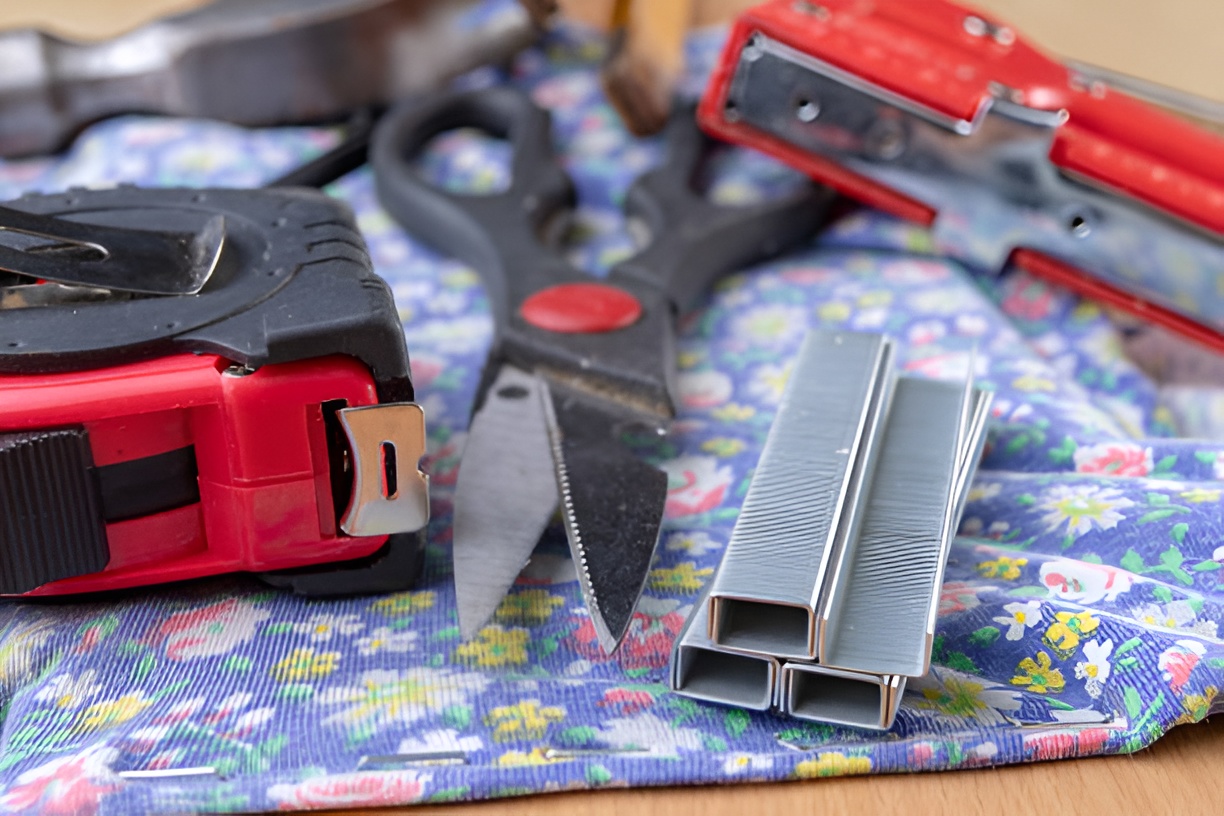
Essential Tools
- Staple gun and staples
- Upholstery tacks or nails
- Upholstery needle and thread
- Screwdrivers and pliers
- Fabric scissors
- Foam cutter or utility knife
- Hammer and tack remover
- Measuring tape
Recommended Materials
- Upholstery fabric (durable and style-appropriate)
- Foam padding or batting
- Webbing or springs (if internal support needs replacement)
- Upholstery glue (optional, for minor reinforcement)
High-quality tools and materials will help your chair remain both beautiful and sturdy.
How Do You Choose the Right Fabric for an Antique Chair?
Fabric choice is critical. The wrong material can detract from the chair’s antique charm. Consider these factors:
- Style compatibility: Velvet or damask for Victorian chairs; tweed or linen blends for mid-century antiques.
- Durability: Heavy-use chairs need strong, long-lasting fabrics.
- Color and pattern: Choose subtle patterns and colors that complement the original design.
- Texture: Materials like velvet, linen, or leather can enhance the authenticity of your restoration.
Selecting the right fabric ensures your chair looks refreshed without losing its historical character.
How to Prepare Your Antique Chair for Reupholstering
Proper preparation is the foundation of a successful reupholstery project. Taking the time to prep your chair carefully ensures that the new fabric will fit perfectly and that the chair’s structure is sound. Skipping prep can lead to a sloppy finish or future problems with the frame or padding. Here are the steps to prepare your chair:
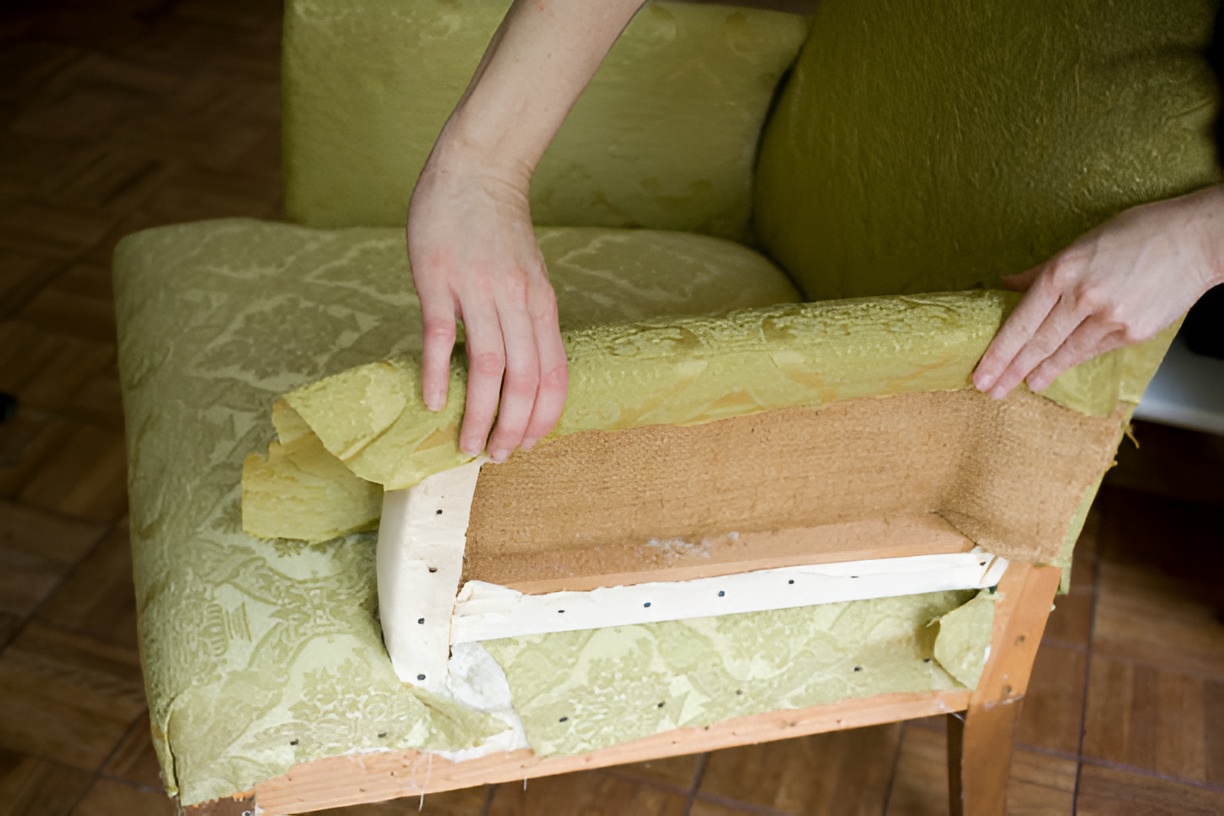
1. Remove old fabric carefully
Start by gently removing the existing upholstery. Use pliers and a tack remover to pull out staples, tacks, or nails. Take your time to avoid damaging the wood or the frame. Keep the old fabric pieces—they’re invaluable as templates for cutting your new fabric. You can trace shapes, check lengths, and even note where seams or folds should go.
2. Inspect the frame
Once the fabric is off, closely examine the chair’s structure. Look for cracks, loose joints, or wobbly legs. Tighten any screws or bolts and reinforce weak areas with wood glue. If the chair has any broken wooden parts, now is the time to repair them before adding new fabric. A solid frame will make the reupholstery process much easier and ensure the chair remains safe and durable.
3. Replace padding if necessary
Over time, foam, batting, or springs can compress or lose shape. Replace old padding to restore comfort and maintain the chair’s original contour. Consider layering new batting over foam to achieve a softer, more luxurious feel while preserving the chair’s antique lines. Spray adhesive can help keep foam in place during the next steps.
4. Clean the frame
Before adding new fabric, dust and clean all exposed wood. Use a mild wood cleaner and a soft cloth to remove dirt, oils, and grime. Cleaning now prevents dirt from getting trapped under the new upholstery and helps maintain the wood’s natural beauty. If the wood has scratches or dull spots, lightly sanding and applying a matching finish can enhance the overall look.
Proper preparation may take some extra time, but it ensures a neat, professional-looking result and gives your antique chair a stable foundation for years of use.
How Do You Measure and Cut Fabric for Reupholstery?
Accurate measurement and cutting are critical to avoid costly mistakes and ensure the fabric fits smoothly around your chair. Rushing this step often leads to uneven edges, puckering, or having to redo sections entirely. Below are some tips for measuring and cutting:
- Lay the chair flat: Place the chair on a flat surface and measure each section that will be covered. Pay attention to the seat, backrest, arms, and any decorative areas. Measure twice to confirm accuracy.
- Add extra fabric: Always add 2–3 inches to each measurement. This extra fabric allows room for stapling, tucking, and folding at corners. It’s much easier to trim excess than to stretch fabric too thin and come up short.
- Use old fabric as a template: The pieces you removed earlier are perfect guides. Place them over the new fabric, trace around them, and mark where seams, folds, and tacks will go. This method helps maintain the chair’s original design and prevents mistakes.
- Cut on a flat surface with sharp tools: Use sharp fabric scissors or a rotary cutter to achieve clean, precise edges. Cutting on a flat surface helps prevent jagged edges or uneven lines. Avoid cutting on uneven or soft surfaces, which can cause mistakes.
Taking the time to measure and cut carefully makes the reupholstery process much smoother and ensures a clean, professional appearance.
What Are the Steps to Reupholster a Chair?
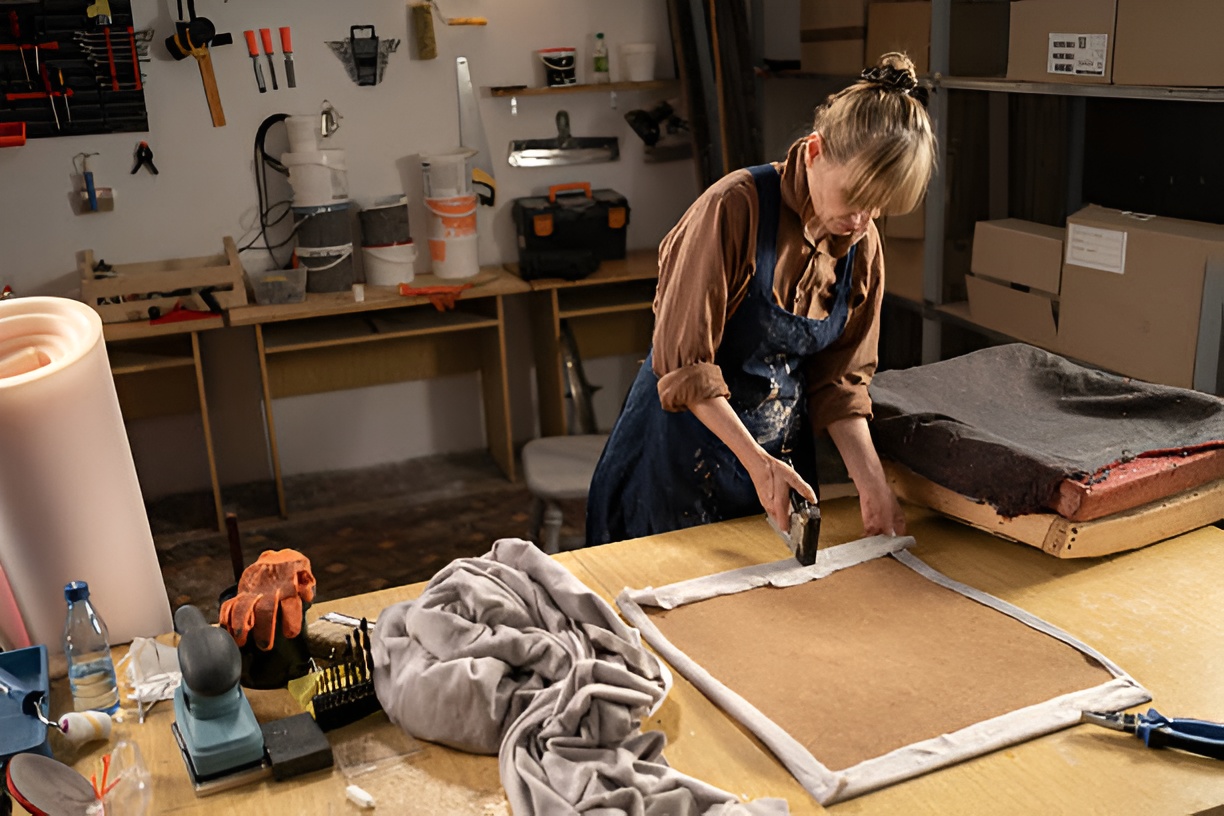
With preparation complete and fabric ready, it’s time to bring your antique chair back to life. Following each step carefully will help you achieve a polished, professional-looking result.
- Attach new padding: Lay foam or batting on the seat and backrest, ensuring it fits snugly. Use spray adhesive if needed to hold it in place. Smooth out any wrinkles or uneven areas before moving on to the fabric.
- Position the fabric: Center your fabric on the chair. Make sure patterns, stripes, or directional textures align properly. Check symmetry—misaligned patterns are very noticeable and can detract from the antique look.
- Staple or tack the fabric: Start stapling from the center of each side and work outward. Pull the fabric taut but avoid overstretching, which can distort the chair’s shape. For corners, fold neatly and tuck excess fabric to prevent bulkiness.
- Secure edges: Once the fabric is positioned and corners folded, secure all edges with staples, tacks, or upholstery nails. Make sure staples are evenly spaced and flush with the surface to prevent snagging or discomfort.
- Trim excess fabric: Use sharp scissors to cut away extra material along the edges. Leaving a small allowance is fine, but trimming neatly ensures a clean, finished look.
- Reattach removed components: Finally, reattach legs, arms, or any decorative trims that were removed during preparation. Check for stability and make sure everything sits evenly.
Patience at each stage is key. Rushing can lead to uneven seams, puckering, or a chair that doesn’t feel sturdy. Taking your time will result in a beautifully restored piece that keeps its antique charm.
How Can You Maintain the Antique Charm While Modernizing?
Reupholstering allows you to improve comfort and durability, but it doesn’t mean compromising the character of your antique chair. Maintaining a balance between old-world charm and modern functionality is essential.
- Stick with era-appropriate fabrics and colors: Choose textures and patterns that reflect the period of the chair, such as damask for Victorian pieces or muted linen for mid-century finds.
- Gently refresh wood finishes: Preserve the original patina or lightly polish wood to enhance its natural beauty without masking its age.
- Avoid modern patterns that clash: Bold contemporary prints may clash with antique lines, undermining the chair’s historical appeal.
- Use historically accurate trims and accents: Decorative buttons, piping, or braiding can reinforce the chair’s original design while updating it subtly.
By following these guidelines, you can give the chair new life while honoring its past. The result is a piece that blends comfort and authenticity seamlessly.
What Are Common Mistakes to Avoid When Reupholstering an Antique Chair?
Even experienced DIYers can slip up. Watch for these pitfalls:
- Pulling fabric too tight, which can warp the frame.
- Skipping preparation steps, leading to structural issues.
- Choosing fabric that’s too thin, flimsy, or historically inaccurate.
- Ignoring corners and edges, resulting in sloppy folds.
- Mis-measuring, causing shortages or poor fit.
Awareness of these common mistakes will save frustration and help your chair turn out beautifully.
Can You Reupholster Antique Chairs Yourself or Should You Hire a Professional?
It depends on skill level, time, and the chair’s value.
DIY
- Ideal for simple frames or for those who enjoy hands-on projects.
- Saves money and gives a sense of accomplishment.
Professional
- Recommended for rare, expensive, or intricate antiques.
- Pros can restore delicate frames, detailed carvings, and high-end fabrics safely.
Understanding the process helps you make the best choice for your chair.
How to Add the Finishing Touches to Make Your Chair Stand Out
Small details can elevate a reupholstered chair from restored to heirloom-worthy.
- Add decorative trims, braids, or tacks to edges.
- Polish or re-stain wooden parts for a cohesive look.
- Attach felt pads to protect floors.
- Consider minor hardware updates like decorative knobs or nailheads.
Finishing touches enhance both beauty and longevity.
How Do You Care for Your Newly Reupholstered Antique Chair?
Proper care ensures your work lasts.
- Rotate chairs to prevent uneven wear.
- Avoid direct sunlight to prevent fading.
- Clean spills promptly with fabric-appropriate cleaners.
- Dust and polish wood regularly.
- Check joints and staples periodically, tightening as needed.
Good maintenance keeps your chair looking elegant for decades.
Can Reupholstering Increase the Value of an Antique Chair?
Yes! Careful restoration can boost both aesthetic appeal and market value.
- Preserves authenticity, which collectors appreciate.
- Restores comfort and functionality.
- Enhances visual appeal, attracting buyers who value style and quality.
When done correctly, reupholstering adds both beauty and worth.
Final Thoughts: Bring Your Antique Chair Back to Life
Learning how to reupholster a chair to preserve its antique charm is a rewarding process. You restore a beautiful piece of furniture while honoring its history, adding value, and creating something that can be enjoyed for generations.
With the right tools, fabric, and patience, even complex antique chairs can be transformed. Whether you do it yourself or work with a professional, your antique chairs can shine in your home while retaining their timeless appeal.